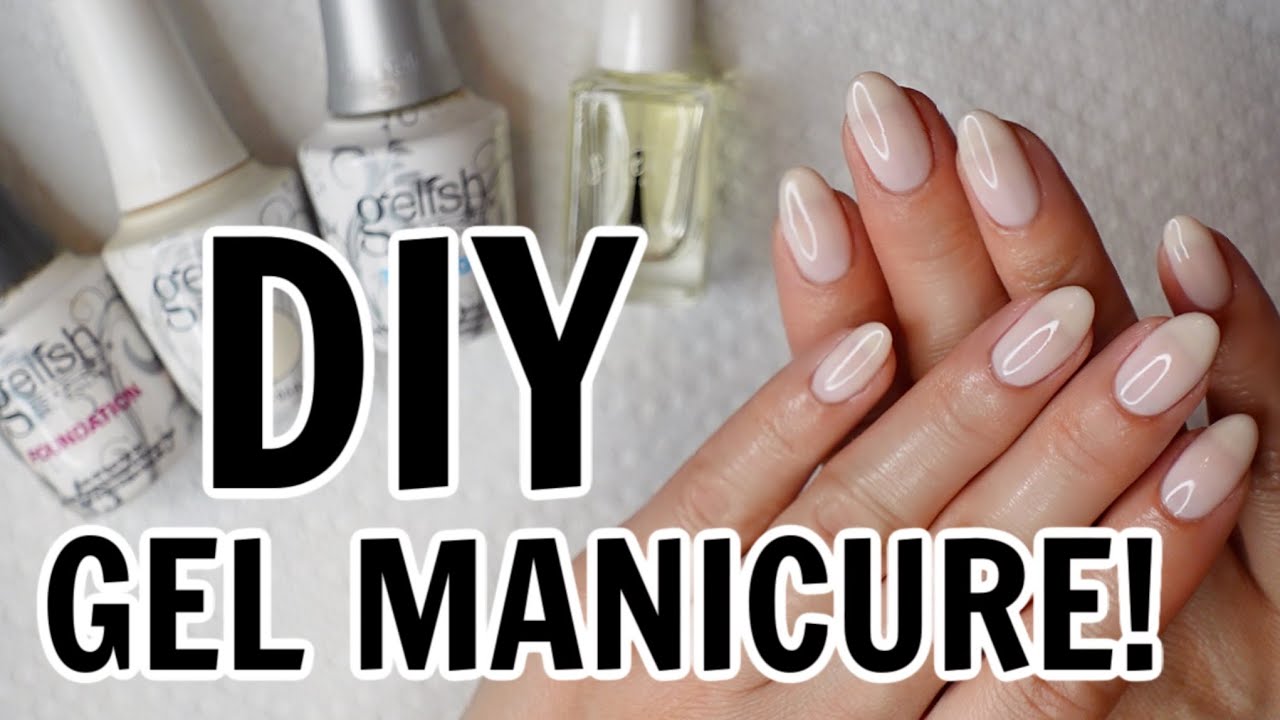
I’ve seen a few people giving their tips on doing gel nails at home and thought we could put all of our advice together. Our tips for doing gels without going to the salon.
For beginners, I think this is probably a good starting point:
I cap the free edge with every layer, including the base coat. Thin coats work better than thick ones. If I go too thick, it cures weirdly or starts peeling sooner. I try to use the same brand for base, color, and top coat when I can. Mixing brands has been hit or miss for me. Also, check that your lamp works with your polish. If the gel doesn’t cure properly, it’ll feel soft or peel within days.
Doing all of this usually gets me around 2 weeks, sometimes closer to 3 if I’m careful with my hands.
20 Likes
Prep is usually where home gels fall apart.
We’re all guilty of wanting to skip it and get to the fun part, but it’s so worth getting right. It isn’t the fun, sexy part, but this is usually what the salon gets right. They’ve done it millions of times, and they know the difference it will make.
So prep, prep and more prep.
Push the cuticle back and scrape off the dead skin. Then buff the shine off the whole nail with 180 grit. Wipe with alcohol and let it dry all the way. If I skip the buff or leave even a trace of oil near the cuticle, that’s the nail that lifts on day four. Every time. Thin coats, yes. A thick base coat is the worst offender because it shrinks as it cures, pulling away from the sidewalls.
I also cure thumbs on their own. Most lamps don’t hit the thumb evenly when it’s lying flat with the other four, and an undercured thumb stays soft and peels. Thirty extra seconds. Costs nothing. On brand mixing, base and top are what matter. Color layers are forgiving. Same line for base and top is the only thing that has ever gotten me past two weeks. Beetles base with some random top coat chipped inside a week, same base with its own top went almost three.
And the same rule goes for taking your removal seriously if you’re not working with already bare natural nails. Don’t try and do something like this, take your removal seriously.
1 Like
Don’t do your gels right after a shower or after soaking your hands for a manicure. The nail plate swells when it’s wet, then shrinks back over the next few hours, so your cured gel ends up sitting on a nail that’s a slightly different size. That’s just asking for lifting.
I do mine at night with dry hands, at least an hour after dishes or a bath. Fussy, I know, but you can’t go back once you try it because it makes your results so much better.
Flooding is the other one. If even a hair of gel touches the cuticle or the skin at the sidewalls, that spot will peel and drag the rest with it. I keep a cheap flat brush and a little dish of alcohol next to me and clean up every nail before it goes in the lamp. Takes five seconds. Once it’s cured, you’re stuck sitting there with a cuticle stick trying to chip it off.
2 Likes
Removal is where most people make mistakes by themselves. Another thing the salon has done a million times and knows the value of.
I don’t cap every layer. It makes the tip bulky, especially on short nails. Base and color stay very thin at the edge, and the top coat seals everything. If the edge starts wearing away, I take the whole set off. Patching or gluing down a lifted spot isn’t worth it. Get yourself a good remover and it will last and help your own gels at home look better.
I file lightly through the top coat and wrap with acetone. Then I leave it alone long enough to actually soften. If the gel doesn’t slide off with light pressure, I rewrap. Peeling or scraping takes layers of natural nail with it, and the next set has nothing solid to sit on.
Gel can feel hard before it’s fully cured. I stick to the manufacturer’s cure time and replace lamps as they age instead of adding random extra seconds. Keep your bottles away from the lamp while you work too; stray light will partly cure the gel in the bottle.
2 Likes
A good lamp really helps, but the wattage on its own doesn’t mean much. A stronger lamp won’t necessarily cure faster. I go by the gel brand’s cure time and lamp specs. Dark, heavily pigmented colors need thin, even coats since the light has a harder time getting through.
I also keep open bottles well away from the lamp and out of direct sunlight. Even a little exposure can partly cure what’s on the brush or around the bottle neck, and then you get lumps and patchy application later. I store everything upright in a cool cabinet and wipe the necks before closing them.
1 Like
The alcohol brush cleanup is the thing that saved my sidewalls, though I use a tiny liner brush since my flat one kept pushing gel back into the cuticle.
Careful with the color layer. Some highly pigmented gels only cure properly under the lamp and cure schedule specified for that line, even when the base and top seem compatible. That’s the part people skip.
I’ve mixed brands plenty of times without problems. I still check every layer for wrinkling or softness before moving on. A quick poke tells you a lot.
The dry-hands rule did more for me than any primer has. I wait closer to two hours now after a shower or dishes. My nails soak up water fast, apparently.
Cleanup is the other part. I keep a lint-free wipe next to me so I’m not dragging diluted gel from one finger to the next, which is what I was doing without realizing it. Uncured gel touching skin causes lifting, so I don’t skip it anymore.
My prep routine is longer than the actual manicure now 
Rewrapping instead of scraping made the biggest difference for my nails. I do check that it’s soak-off gel first though, since acetone won’t budge hard gel no matter how long you leave it wrapped.
Two hours is longer than I’ve ever waited.
The lint-free wipe for cleanup is smart. I’ve been dragging the same cotton pad across all ten fingers without thinking about it, which is kind of gross now that I say it. What are you putting on the wipe though? Just rubbing alcohol or something else?
2 Likes
91% isopropyl on mine. 70% leaves too much water behind and you end up with a damp nail right before it goes in the lamp.
I use wipes for two jobs and keep them separate. One is the prep wipe before base coat, that’s alcohol. The other is the sticky layer wipe after the top coat cures, and for that I use whatever cleanser came with the kit or just alcohol again, it’s basically the same.
The bit that matters is folding it. I fold the wipe into quarters and turn to a clean face for each nail. Sounds fussy but that’s the whole point of not using one cotton pad, otherwise you’re just moving the residue around with a fancier material.
Lint-free is doing a lot of work in that phrase too. Regular cotton pads shed fibers into the base coat, you cure them in, and can’t get them out.
3 Likes
So Sensationail. Anyone actually used one of the kits?
They’re right there at the store every time I go in, which is kind of the whole appeal. I could have one in my hands tomorrow instead of waiting on a shipment. But I have no idea if they’re worth it or if I should hold out for something better.
Acetone. That’s it, on a q-tip or one of those little cleanup brushes if it’s a bigger smear. Wiping it off dry just smears a thin layer around and leaves residue sitting there. That’s the stuff that builds into an allergy over time. Took me way too long to break the habit of just rubbing it on my jeans.
I have a ton of Sensationail sitting around. I bought out a few people’s stashes after they developed allergies, and I’ve barely touched most of it.
I tried one color and it took five coats and was still sheer. Started swatching another one and same thing.
Safety is the part most people skip over. Gel touching your cuticle or sidewalls can set off an allergic reaction, so I clean up any flooding with alcohol before it goes under the lamp. Keep your layers thin so they cure all the way through.
For learning, Nailcou on YouTube has free tutorials covering soft gel, hard gel, polygel too.
Just finished OPI gel in Suzi, The First Lady of Nails, this morning. Salon-quality at home is doable, and I’d say the learning curve is mostly in the removal, not the application.
The trick is using actual gel remover, not straight acetone. I learned that the hard way. My nails were paper thin for months.
Cotton piece soaked in remover, foil wrap, wait 5-10 minutes. Pops right off clean.
This should be pinned. Would’ve saved me so many questions back when I was starting out and asking about every base coat on the market.
I used to buy those cheap Amazon base and top coats. Total waste.
Switching to name brands like Gelish or CND Shellac made a huge difference in how long my at-home gels actually lasted (weeks, not days).
Uncured polish sitting on the nail for weeks. I think that’s behind a lot of the allergies folks develop. Thick coats are usually the culprit, they just don’t cure all the way through, no matter how long you leave them under the lamp.
So I go for multiple thin layers instead of trying to get full coverage in one or two passes. Every time.
Lacquer over a gel overlay is a nice option, especially if you want to change your color more often without redoing the whole thing.
For removal you’ll need the right grit files and acetone to soak off, unless you’re doing fills. In that case you just file down the lifting and build back up over the outgrowth (way less work).
If you’re still figuring out your system, The Nail Hub has solid videos on safety and the basics.