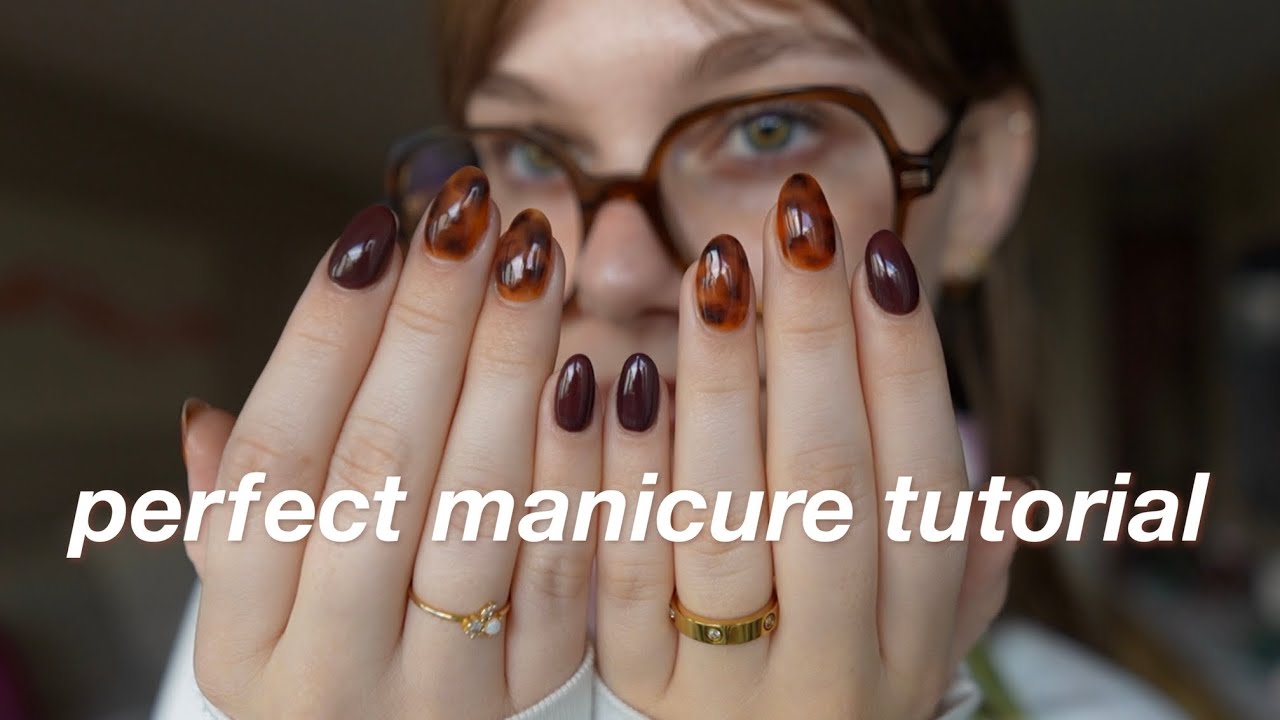
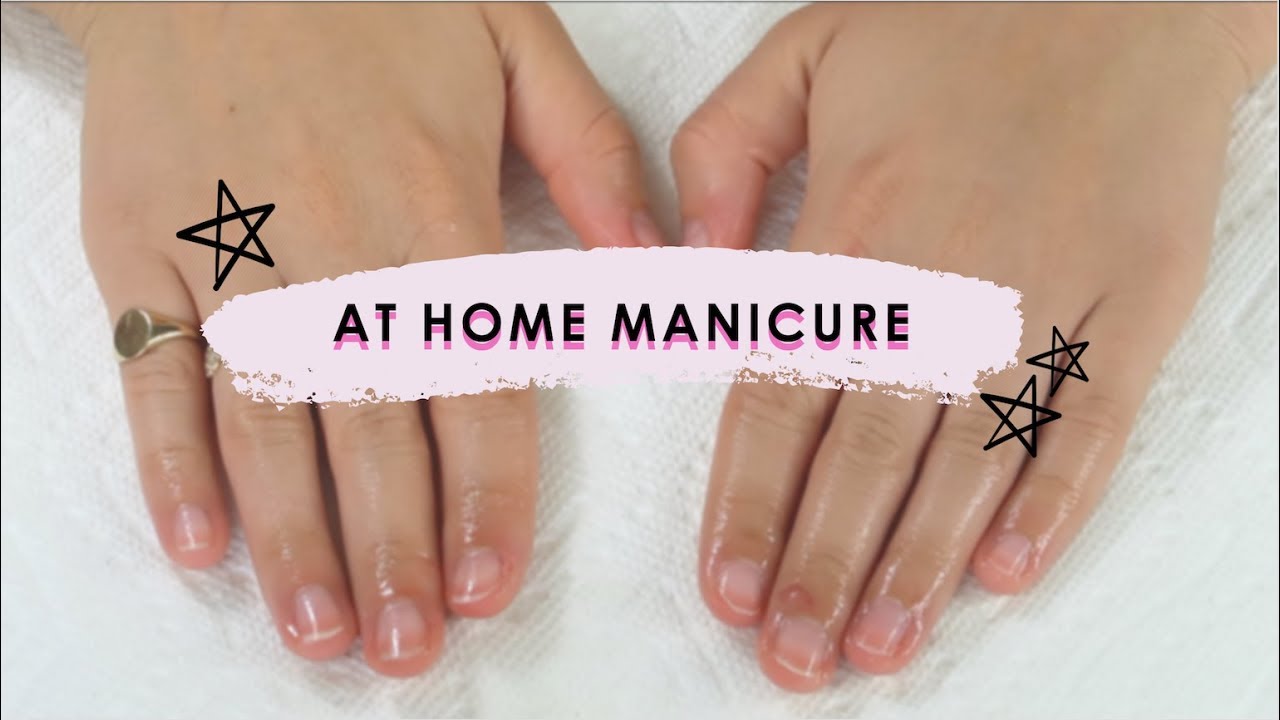
I’ve been doing my at-home manicure routine for like a decade now (started as a way to stop chewing them to bits, don’t judge me lol). My nails are longer and healthier than they’ve ever been, which feels like a small win. Problem is, they still look like a toddler went to town with a polish bottle compared to when I splurge on a salon visit. I think I’m serving glam and then I catch the light and it’s… just streaky sadness.
Sometimes it looks okay but when I go to the salon I know it’s going to look good compared to maybe 20% of the time if I do it at home. Consistency is hard. So spill the tea, what are the little tricks or holy grail products that took your DIY nails to looking actually done? Bonus points if it’s something my clumsy self can pull off without ruining everything.
Streaks usually come down to prep and polish control, not how steady your hands are.
Don’t soak your hands first. Nails absorb water and swell, and the polish can lift later once they shrink back. Push cuticles back gently and scrape off the thin layer of dead skin stuck to the nail, then wipe each nail with alcohol or acetone until there’s no oil left. A thin base coat that smooths things out helps a lot, especially if you have ridges.
For the color, roll the bottle between your palms instead of shaking it, and use less polish than you think you need. Set the brush a bit above the cuticle, nudge it back without touching skin, then pull down the middle and do each side. Keep the first coat thin and stop brushing once it starts to set, because that’s where the dragging and streaking happen.
Let it sit a couple minutes, then float a slightly thicker second coat over the top with almost no pressure. Some pale or sheer shades just need three coats. It’s normal depending on your nails and what you’re using, just be patient and don’t try to rush it.
The biggest help for me as a messy painter was a small angled cleanup brush dipped in acetone. Clean around each nail before top coat and the whole thing looks a lot sharper. I always finish with a glossy quick-dry top coat like Seche Vite or Essie Gel Couture. Put on enough that the brush glides instead of dragging. Cuticle oil goes on last, only after everything is fully dry. If your nails are long, run the color and top coat over the free edge too. It keeps the tips from wearing down as fast.
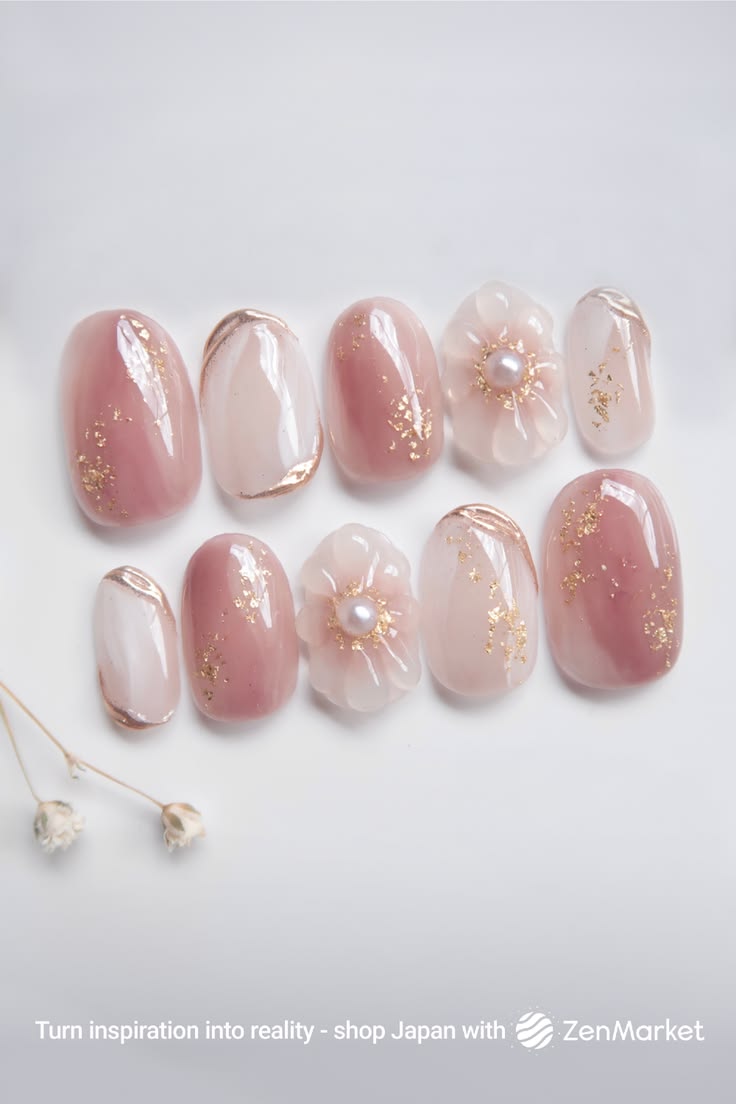
They can be a little annoying at first, and they do take a little work, but nothing else is going to get you salon-quality right away. It takes years to learn to do a professional mani and these can be a few bucks.
Even then, something like these little almonds go on easily and are hard to mess up:
If you’re only getting decent results 20% of the time, the polish itself might be the problem. Whites and pastels streak even with good technique. An opaque crème with a wide, rounded brush is a lot easier to work with. If a bottle has gone stringy or needs constant fussing, I stop using it. Salon techs get better results partly because they don’t keep fighting bad polish.
Probably the best advice I could give is KISS. Keep It Sttttuuupidly Simple. Just like the guys I tend to date. Don’t try to come up with a glazed donut polish on day 1. Start with something that looks good without too much detail to start with.
My clumsy-person trick is to paint my dominant hand first, while I still have patience. I keep both hands resting on the table and turn the finger I’m painting instead of moving the brush around. Then I go around the edges with a tiny flat brush dipped in acetone. That cleanup step is what makes it look finished, and nobody needs to know what a mess it was five minutes earlier. A quick-dry glossy top coat also hides small bumps and stops me from poking at everything to see if it’s dry.
The ‘catch the light’ thing is the giveaway for me. That’s your top coat. A thin, dragged top coat prints every brushstroke underneath it. What fixed it for me was loading the brush up and floating it on so it’s barely touching the nail, letting it flow over the color instead of pushing it around. Two or three light passes, and then don’t go back over a spot once it starts to set (resist!). A glossy top coat is forgiving and will blur out a lot of the mess below it.
The other thing salons do that most of us skip at home is the clean-up. Watch a tech next time. They paint close enough and then tidy the edges with a tiny brush and acetone. I use a cheap flat eyeliner brush from the drugstore, dip it and wipe most of it off on a paper towel, then run it along the sidewalls and around the cuticle line. That crisp edge is like 60% of what reads as professional.
Nobody is looking at your brushstrokes if the outline is sharp and that’s a lot easier to get right IMO.
This is an annoying one, but where and when you paint matters more than people admit. I used to do mine on the couch at night under a lamp that made everything look fine until daylight. Now I sit at a table under a bright white light, and I never do them right after a shower or on a day I’ve been slathering on hand cream.
There’s a reason the real quality manis come from a salon and not the kitchen table.
I also cap the free edge, dragging the brush along the tip on every coat. That stopped the chipping that made my manicures look sloppy by day two even when the paint job was decent. Don’t rush between coats, set a timer if you have to.
Polish that goes on over a color coat that’s even slightly soft will drag and streak no matter how well you brush it, and how fast a coat sets depends on how thick it was and how warm the room is. Humidity wrecks a manicure faster than anything else. The good weeks were the weeks I happened to wait long enough.
Now I do one hand, then the other, and only start coat two when I’ve done the full loop, so each nail gets a proper few minutes. Yes, it takes longer, but it’s a lot faster than having to redo everything or paying to get them fixed because I rushed and made a mistake.
And the lighting matters! Salons have those bright, flat lamps pointed straight at your hands for a reason.
If you paint under a bright desk lamp, a cheap daylight one angled low, you see the drag marks while the polish is still wet and can float a bit more over them before it sets. If you do them in the dark with your laptop or TV light, you’re going to see your nails in the morning and wonder “how did I not see that before?”
A lot of what reads as ‘done’ at the salon is the skin around the nails. Hydrated cuticles, no ragged bits. A slightly imperfect coat still reads as polished if the hand looks tended to. There is good advice for a nail care routine here and this will do so much of the heavy lifting for you.
The wide rounded brush is half the battle, especially with a self-leveling crème. If a favorite gets a little stringy, I’ll add a few drops of actual polish thinner (not acetone). If it needs thinning again soon after that, I toss it.
I don’t wait until everything’s fully dry. Once my quick-dry top coat is touch dry, I put oil around the cuticles and stay off the nail surface. The oil actually helps a bit while the polish finishes curing. It gives some slip so small bumps don’t leave dents as easily.
I spent way too many years painting my nails on the couch at night with the lamp somewhere behind my shoulder, then wondering every morning where the ridges came from. They were there the whole time, I just couldn’t see them. Same with floating over drag marks while they’re still wet. There’s a short window when you can still fix it, and after that, you’ve made a dent. With a bright light, you can tell when that window is closing. Laptop glow and you find out in the morning.
Does the ‘proper few minutes’ hold up for you with the thicker gel-effect polishes, or do those need the loop run twice before coat two? I’ve had some (the milky jelly ones especially) that look set on top and are still soup underneath.
That tiny gap of bare nail between your cuticle and the polish is probably the issue. Leaving that sliver actually makes everything look cleaner and more deliberate.
A small cleanup brush dipped in acetone to straighten out the edge can be the difference between pretty good and people asking if you got them done professionally. If you haven’t tried it yet.
Wrapping the free edge is one of those things I ignored for far too long because it seemed like overkill, but it actually makes a difference. Water gets under the tip and lifts everything if you skip it. Learn from my mistake!
Wrapped the base coat and color over the edge, plus the top coat. Started doing this after watching some nail techs on Instagram, and suddenly my polish was lasting 6-7 days instead of chipping by day three. Small step, but it made the biggest difference for me.
Small brushes changed everything for me. I bought a little set and dedicated one to cleanup and a couple to actually painting, and now my first coat goes on thin and right up to the edges without flooding my cuticles.
The brush that comes in the bottle is for coat two. First coat with the tiny brush gives you a cleaner look.
Low-key, the Sally Hansen instant dry top coat works so well for me. Their cuticle remover is high-key just as good if you’re trying to get that clean salon look around the edges.
The biggest difference between salon results and at-home manis is taking the time to properly push back and remove cuticles before you even touch the polish. That and decades of experience, of course. Your color sticks so much better to a clean nail plate, and you get that crisp, defined look around the base instead of polish bleeding into skin or lifting at the edges.
Those dashing diva nail strip stickers take me back to when I first discovered them. Stick them down starting at the cuticle, file off the excess, then add a top coat and you’re done. The accent nail sets already designed for you feel like a little gift, and at five or six dollars, it’s a small luxury that doesn’t sting.
I still use CND Stickey base coat when I’m in the mood for regular polish, though.
Base coat and top coat made a real difference for me. That’s the closest I can get to a good home mani.
My hands take a beating with garden work, so I figured polish would just chip off anyway, but using both layers actually helps my manicures last way longer.
Ha, welcome to the club. I’ve ruined more manis thinking ‘surely it’s dry by now’ than I care to admit. I like the little Sally Hansen Vitamin E oil with the brush applicator. It’s cheap and easy to find, and I’ve never had it mess with a top coat. If you want to feel fancy, CND Solar Oil works, but a dropper of jojoba from the health store does the same job for pennies.
Stopping before the cuticle was the upgrade for me. Instead of trying to paint right up to it, you leave this tiny hairline gap, and it reads way cleaner than flooded polish ever does.