How do you shape nails so they actually match? For the love of me I can’t get this right.
I’m going from a boring squoval-ish situation to a tapered almond, and shaping was the last thing I figured out with my natural nails.
Mine are chaotic  .
How do you shape nails so they actually match? For the love of me I can’t get this right.
I’m going from a boring squoval-ish situation to a tapered almond, and shaping was the last thing I figured out with my natural nails.
Mine are chaotic .
I file in pairs. Doing one hand and then trying to copy it never gets me a matched set.
On a squoval free edge I take the same few light passes off each corner with a glass file, then hold those 2 nails next to each other before moving on to the next pair… I don’t touch the point until both sides of the taper look even from the front and the side.
A phone photo of both hands laid flat shows me small differences I miss when I’m looking straight down at them.
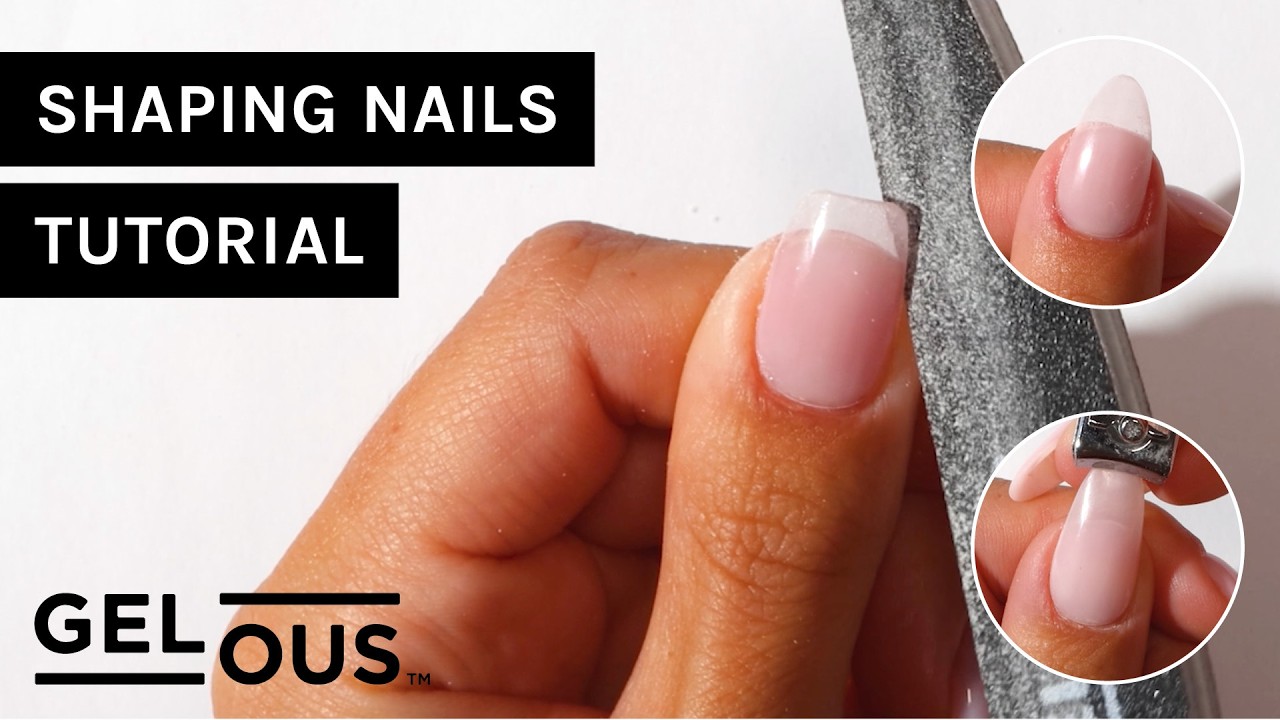
Maybe watch this. She files the sides of the free edge at an angle, then rounds off the tip. That gives you something to check each nail against: a narrower free edge with a soft, rounded tip. It’s mostly a shaping walkthrough, but the order of steps fits the paired-nail approach above.
Nail beds vary and plenty of nails grow a little crooked, so the exact same edge on each one highlights the differences. I go for the taper starting at about the same spot on every nail and compare with my hand relaxed… if one is too short I let it grow out.
So match the length you want first and then pick the one you like and start copying that shape onto the nails next to it. Compare pairs after, thumb to thumb, index to index, and fix the worst one in each pair and stop there.
Hand relaxed, yes. Flexing my fingers always made my pinky look way shorter than it was.
Putting the file away after the first correction is the part I need to work on.
My index nails curve slightly toward the middle finger and no amount of filing was going to make them match the ring nails. Still unsure how much drift to put up with before deciding a nail is too short and leaving it alone.
Makes me feel better about my set (chaotic as it is). I keep wanting one more pass. When you check the shape, are your fingers held straight or is your hand relaxed?
Bit of both for me. I lay my hand flat on the table with my fingers straight to check that the taper’s even on both sides of each nail. Then I let my hand relax for the look. If a nail only looks off in one position, I leave it alone.
File them crooked on purpose. If a nail grows off to the right, I file the point of the almond a little left of center so it looks straight from the front.
That’s also why I like almond for crooked nails. You can over-correct a lot more than you can with a square shape, where any lean shows up right away.
Check for flat ones. A couple of mine are flat as pancakes compared to the others and that alone made them look mismatched even with the same shape.
Hold an almond press-on against each nail and file to its outline. Way more consistent than eyeballing it.
It’s even easier if you do it before you take your old polish off, since you can see the edge.
Thin unpainted strip along each sidewall on the couple of nails that flare out wider than the rest, so they look as narrow as the others. Keeping polish on them for a while seems to have tightened up their C curve a bit.
Shorties are cute in the in-between stage, so it’s fine to take a couple nails way down to get the whole set even.
I wore mine square for over a year before I tried anything else… once I figured out how to take care of my nails, they started growing back fast, and now I switch shapes whenever I want.
A tapered shape needs a bit more length before it shows, so yours might look a little off for a while.
Color in a straight stripe down the middle, thin gap on each side, while the shapes are still evening out. Any flare or lopsided spots don’t show as much and the nails look a little longer and slimmer while you’re growing them into almond. Base and top coat still go over the whole nail.
Dry nails only. I used to shape right after a shower or doing dishes and the nails were soft and bent under the file, so the shapes I thought were even turned out uneven once they dried and hardened.
Long strokes in one direction now, from the side toward the center, no sawing back and forth. The fuzz had been making some tips look shorter or more crooked and my edges stopped fraying after that.
Ten stubby little ovals is what I ended up with when I tried to do the whole switch in one sitting. What worked was spreading it over about three sessions a few days apart.
I file the sides straight out first, before I touch the tip, with the cuticles as my starting line so the taper starts at the same point on every nail.
I finish one hand and then match the other hand to it. Fine grit at the end, under bright overhead light.
A soft pencil on my bare nails made filing evenly a lot easier. I draw a little line down the center of each nail and shade in the lower part.
When I file, I can see if I’m taking the same amount off both sides, so the taper comes out even.