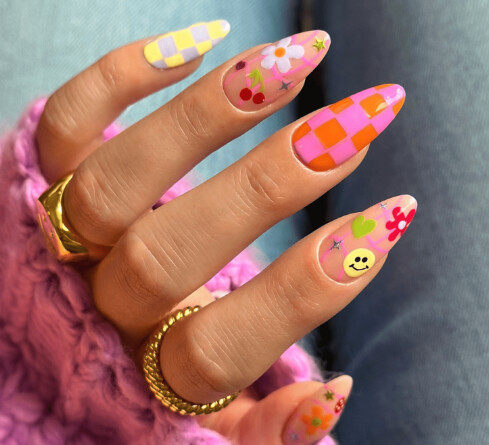
Salon prices are getting rough and my nails are usually pretty plain anyway so I’m starting to think more about DIY nail art. Part of it is just nostalgia. I used to sit on my bedroom floor as a kid painting little flowers on my thumbs with my mom’s polish, and I kind of miss that whole ritual of actually doing it.
I have some regular polish at home and a few gel supplies too (nothing fancy). But I have no idea where to actually start. Did you begin with dotting tools, stamping, stickers, or freehand? And do you prefer regular polish or gel when you’re doing your own nails…
Any beginner tips would help. Even the obvious stuff.
I started with dotting tools and stickers because they’re much less frustrating than freehand and you get results a lot quicker.
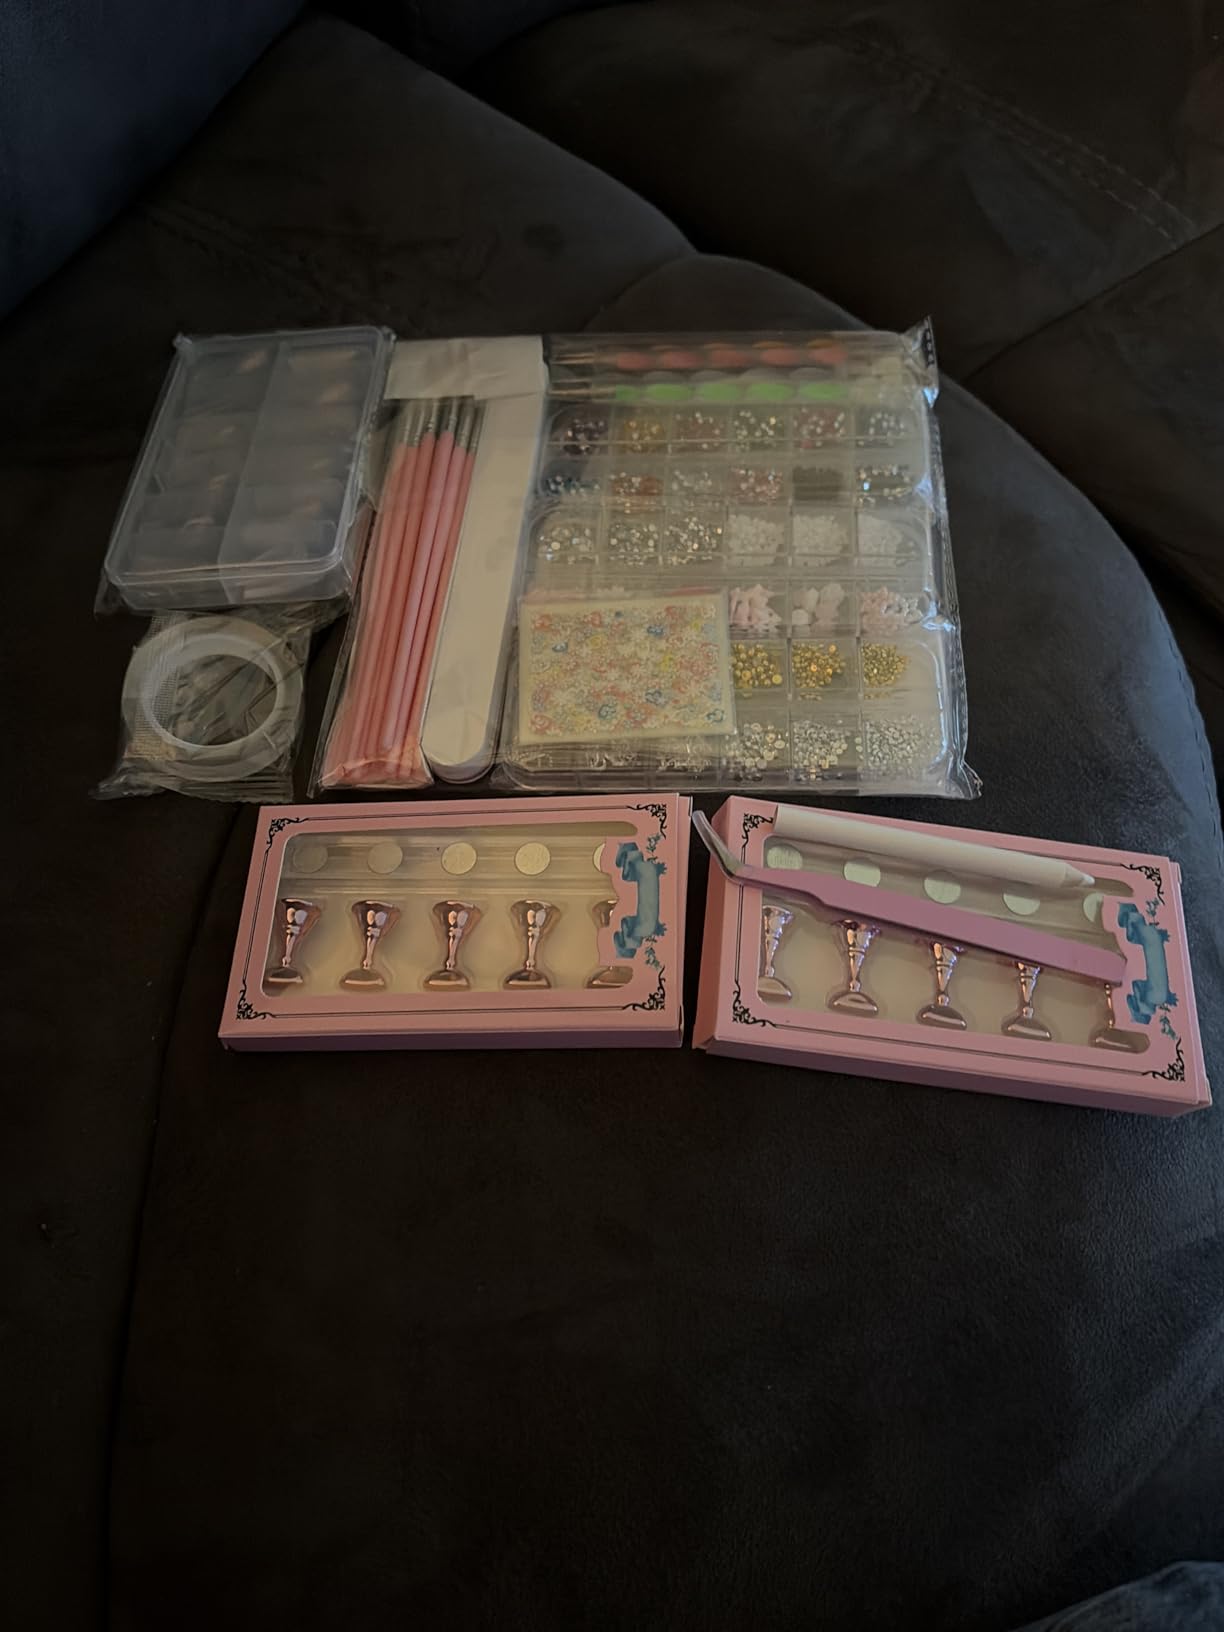
You can get a kit like this with dotting tools, small brushes, stickers, gems, clear coffin tips, and a little nail stand. I was surprised by how much was included and how easy it was to experiment on the loose tips before touching my actual nails. It’s especially good if you’re still figuring out whether you enjoy flowers, gems, line work, or press-ons.
For the little flowers, for example, make five dots in a circle and add a contrasting center dot-regular polish works perfectly and cleans up more easily. I prefer gel for thin lines and gems because it stays put until cured, but regular polish is simpler for casual practice.
Keep the brush lightly loaded, let each layer dry, and use a cheap cleanup brush with acetone around the cuticles.
Start with stickers or decals over a clean regular polish manicure. Or maybe a good nail stamper if that’s what you’re drawn to. Actually painting with polish… it looks easy on social media because they have years of experience and a very practiced hand. But with a sticker, it looks finished right away, and you get practice with placement and figuring out what designs suit your nail shape.
If you do want freehand practice, put a little polish on foil and load a thin liner brush from that. Painting straight from the bottle brush is tough. Simple curves and diagonal lines are pretty forgiving, so you can do it while watching TV without having to redo your actual nails. You don’t need to run out and get the pro brands and hundreds of brushes right away. Keep it simple and keep practicing.
Hold off on gel at first. Uncured gel shouldn’t remain on the skin, and each layer needs curing with a compatible lamp for the time specified by the manufacturer. Regular polish is lower pressure for learning and much easier to remove when your first attempt looks better in your head than on your hand.
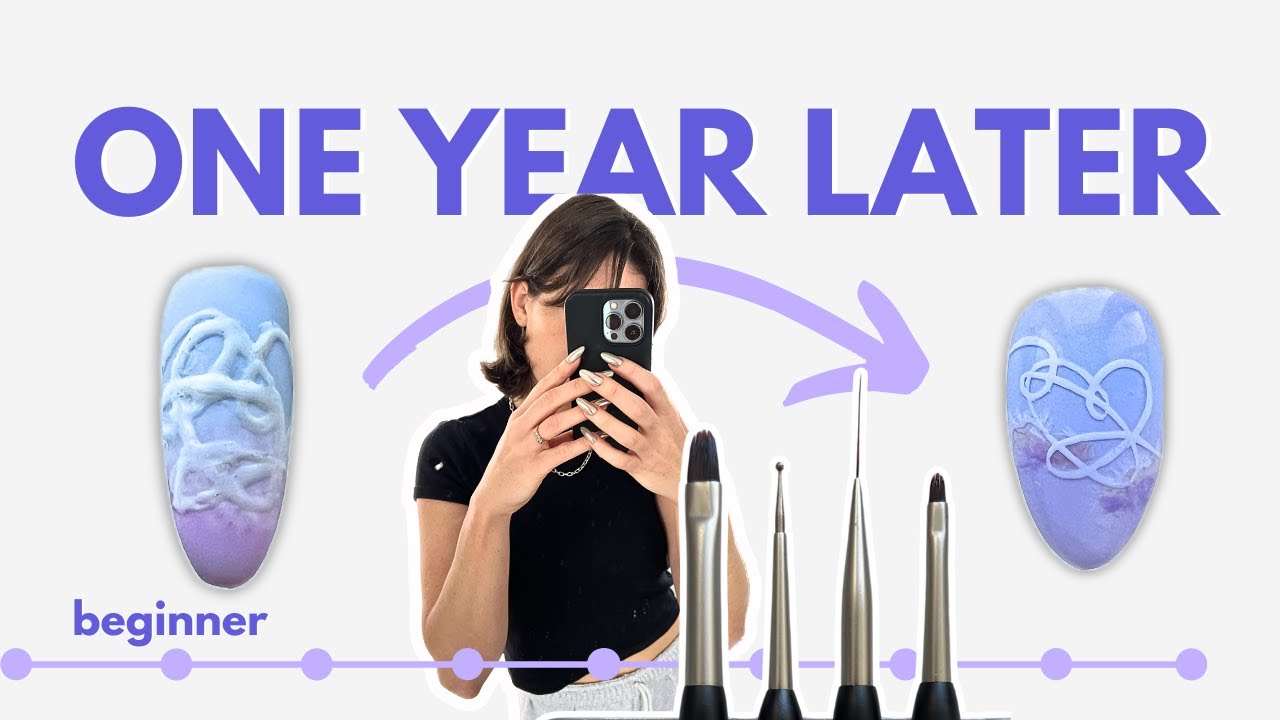
I didn’t think of myself as a very artistic person, so this was a bit of a learning curve for me. I never thought I’d be able to do this kind of thing, but I think nail art is a specific skill in itself. Anyone can learn it, but it does take time. This should be a must-watch video for anyone who wants to learn to do it:
Use regular polish to learn.
Gel is great once your control improves. It just makes early messing around feel higher-stakes than it needs to be. Regular polish also sounds closer to the thing you used to do with your mom anyway.
As for what to paint, try freehand squiggles or uneven French tips, anything that isn’t supposed to be symmetrical. Tiny detailed pictures will make you want to throw the bottle across the room. A wonky squiggle just looks like you meant it. A cheap set of plastic swatch sticks helps too, for testing colors and brush pressure without redoing a whole nail.
Remember that guy on TV who would paint and turn his mistakes into clouds? It’s never a mistake on your nails - it’s an accent nail.
They’re cheap and forgiving, and you can’t really mess up a dot. Five dots in a circle is a flower. Two dots and a swipe is a heart.
Since you already have gel supplies, use gel for the art. Regular polish starts drying the second it touches the nail, so you’re racing a clock the whole time. Gel just sits there until you cure it. You can nudge a wonky petal or wipe a mistake off with a clean brush and take as long as you want on one nail. I still use regular polish for a quick solid color, but for anything fiddly, gel wins.
Skip stamping for now. It’s fun eventually, but the plate polish and scraper pressure has a real learning curve and it burns through your patience early. Stickers are fine for confidence, I guess, but they cut out the exact part you said you miss, which is the painting.
I put a drop on foil and load the liner from that.
I work with one small drop at a time. Regular polish starts thickening on the foil pretty fast, and fighting a gummy drop never ends well, so I just put down a fresh one instead of trying to save it.
My first few attempts were tiny cherries and polka dots that had to line up across all ten fingers. The second dot landed a little off, the whole hand looked wrong to me so I basically just quit. Then I switched to abstract swoops and French tips that were uneven on purpose, and the pressure went away. My brush control got better too, mostly because I was actually practicing.
Half my favorite designs started as something I was trying to cover up.
On the regular polish suggestion, get a bottle of thinner to go with it. Learning with regular polish feels harder than it should because the stuff goes gummy on the brush before you finish a line. A drop or two and it flows almost like gel, minus the lamp. Swatch sticks help here too. Try a color, decide it’s too dark for a squiggle, move on without soaking anything off.
Gel is a lot easier to work with. Being able to nudge a petal that came out lopsided is a lot easier to learn than ‘normal’ polish. With regular polish, the dot you place is the dot you keep, and if you go back in to fix it you usually drag the whole thing across the nail.
Gel doesn’t self-level the way people expect if you sit on it too long. Leave the dots uncured for a few minutes while you’re messing with the next nail and they spread out and lose the crisp edge. So I cure each nail as soon as I’m happy with it, instead of curing all five at once. Also, wipe the tool between dots, or the ball builds up a ring of half-set product and your dots start coming out with little tails.
OR don’t even bother and just get a nail stamper instead. Work smart, not harder!
The foil trick makes sense. I’ve been dipping straight into the bottle this whole time, then wondering why everything goes goopy and streaky halfway through a flower.
Tossing the drop is going to be the hard part… I hate wasting polish, even a bead of it (trying to be waste-free), so my instinct is to keep working it until it cooperates. I guess a fresh drop beats fighting one that’s already going tacky though… I’ll test with some foil from the kitchen tonight.
What lamp are you using? It matters way more than people think. Cheap ones underpower the corners, so your thumb art cures soft and then smudges the second you wipe the tacky layer.
If it’s a wipe top coat and you go at it with a lint pad, you can drag an uncured art layer straight into the finish.
Length, too. Mine are short, so I gave up on fitting full designs and just do one accent nail with negative space now. Nostalgia flowers look better on a bare nail than crammed edge to edge.
Thumbs. Always the thumbs. They cure badly in a lamp, so do them separately and lay them flat, hand flat on the table and not tilted, or the gel pools toward one side and your dots slide.
Float the top coat. That’s the trick I wish someone had told me before I ruined a set I liked.
Regular polish causes the issue. If the design isn’t completely dry when you brush over it, the top coat grabs the pigment and smears it. Load the brush heavy and lay it down without pressing. Don’t go back over the same spot twice.
A gel top coat over dry regular polish works fine without dragging, but seal the free edge well or it will lift.
Get a nail wheel, or just a bag of cheap plastic tips. Practicing the same flower twenty times on plastic costs nothing, so you’re not figuring out a new design on your hand at eleven at night when the polish is setting wrong.
Vinyl might be worth looking into once you’ve got the basics down. I’ve been following YouTube tutorials for a few months, and they help with those clean geometric lines that are tough to do freehand.
There’s a learning curve though. I’m still figuring out the right time to peel them off. Too early or too late and you end up with a mess.
I use regular polish instead of gel for vinyl work since it dries a bit faster, which gives cleaner edges when you lift the vinyl.
Starting with decals taught me way more than I expected. It was mostly the technical stuff, like how tacky your topcoat needs to be before you place a sticker, or how thin the decal should be so it doesn’t lift at the edges. The curve of your nail changes where everything sits, which I didn’t expect. I also figured out how many topcoat layers actually seal things down versus just adding bulk.
The placement with tweezers was good practice too. It’s precise but low stakes since you’re not drawing anything yourself. Once that felt easy, freehand stuff like colorful French tips made a lot more sense because by then I already understood how polish behaves on the nail.
Stamps, always. Freehand just isn’t my thing, my hands shake too much for that kind of precision and I gave up trying. They’re cheap too, and you still get the fun designs without needing steady hands.
Acrylic paints beat nail polish for tiny details, hands down.
If you’re into freehand, Robin Moses on YouTube has a ton of floral designs, plus tutorials for the basic techniques. That’s where I picked most of it up.
I don’t do it super often, but when I’m in a floral mood that’s what I use. You just need some tiny brushes (they’re cheap, like a few dollars) and then a quick dry top coat over everything to seal it. It holds up longer than I expected.
Not on every nail shape, though. My pinkies always smudge somehow.
Get actual stamping polish. Regular polish just doesn’t have the pigment to transfer. I spent weeks wondering why my stamps came out looking like ghost prints before I figured that out.
Maniology has starter packages with everything, plates included, so you skip the whole piecing-it-together phase.
Watch a few technique videos first though. The scraper angle matters way more than you’d think.